
Weekend Woodworking Projects That Actually Look Professional
How to Turn Two Days, a Few Tools, and Some Scrap Wood into Something That Looks Like It Came from a Designer Store
It Starts with a Saturday Morning and a Cup of Coffee
There's a quiet kind of magic that happens in a garage or backyard workshop on Saturday mornings.
You sweep the sawdust off the bench, the smell of pine and coffee fills the air, and suddenly, you're not just "doing a project." You're making something real.
The best part? You don't need a giant tool collection or years of joinery skills. You just need smart design choices and a few weekend hours to create pieces that actually look professional.
Here's how to make that happen.
1. Pick Projects That Look Complex --- But Aren't

The secret to professional-looking builds isn't difficulty. It's design.
The right proportions, hardware, and finish can make a beginner project look like a custom commission.
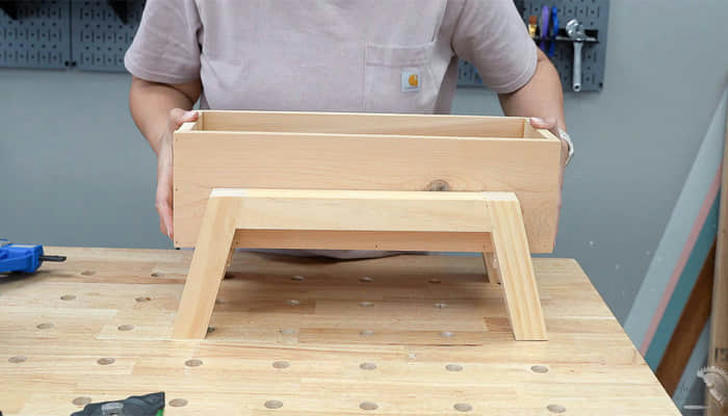
Try This: The "Invisible Bracket" Floating Shelf
- Time: 3--4 hours
- Tools: Drill, level, stud finder, sandpaper
- Wood: Solid oak or walnut veneer plywood (¾ inch)
How to Elevate It: Instead of store-bought brackets, use hidden wall mounts or a simple French cleat system.
Sand the front edge into a slight bevel --- that tiny shadow line gives it a high-end touch.
Finish it with Danish oil or matte polyurethane, and suddenly, a $25 project looks like a $200 custom install.
Pro Tip: Stack three identical shelves at uneven heights --- it instantly feels like a designer wall installation.
2. Add Mid-Century Angles to Your Coffee Table
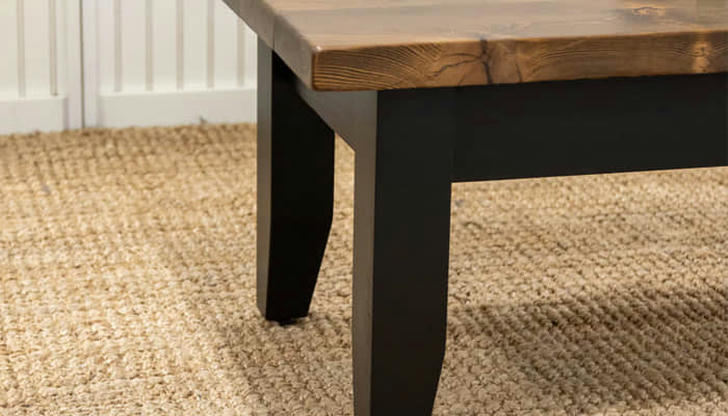
If there's one project that always impresses, it's a tapered-leg coffee table.
Materials:
- 1 sheet of ¾-inch birch plywood (top)
- 4 angled wood legs (you can find adjustable ones online)
- 8 mounting plates
- Wood glue + pocket screws
Why It Looks Professional:
It's all in the angles. Mid-century modern furniture relies on clean geometry --- tapered legs and rounded corners.
Cutting a 10° angle on each leg makes it look like it's ready for an interior design magazine shoot.
Finishing Touch:
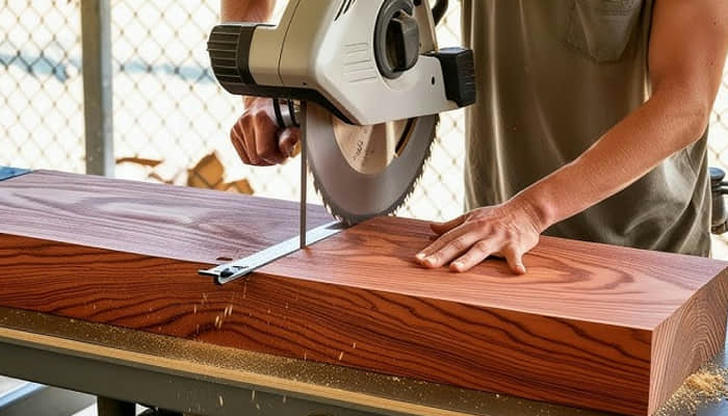
Round the tabletop edges slightly with sandpaper or a trim router. Then wipe on two coats of walnut stain and a final coat of satin polyurethane.
When light hits that grain on a Sunday afternoon --- that's when you'll know it was worth it.
3. Build a Wall-Mounted Desk That Fits Anywhere
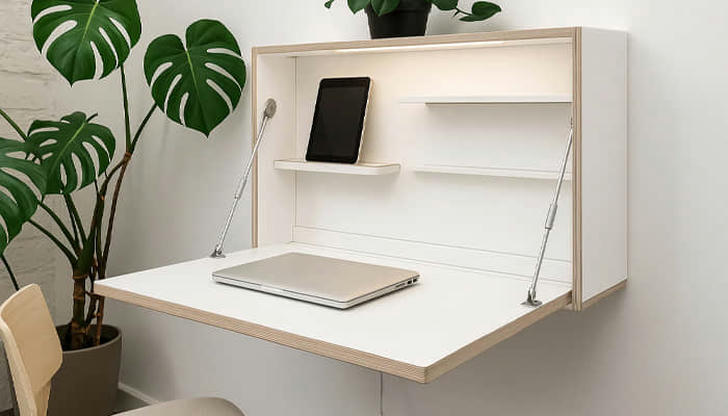
For apartment dwellers or small-home offices, a wall-mounted desk can transform dead space into a minimalist workstation.
How to Do It:
- Cut a 36x20-inch piece of laminated pine board.
- Mount two sturdy L-brackets into wall studs.
- Attach the board, add a live edge trim, and finish with beeswax polish.
Pair it with a matte-black lamp and a plant, and you've got a workspace that looks curated --- not cobbled together.
Why it feels high-end:
The floating design visually declutters the room. And when you match the wood tone to your chair or floor, it feels intentional --- like part of the architecture, not an afterthought.
4. Make a Wine Rack That Belongs in a Boutique
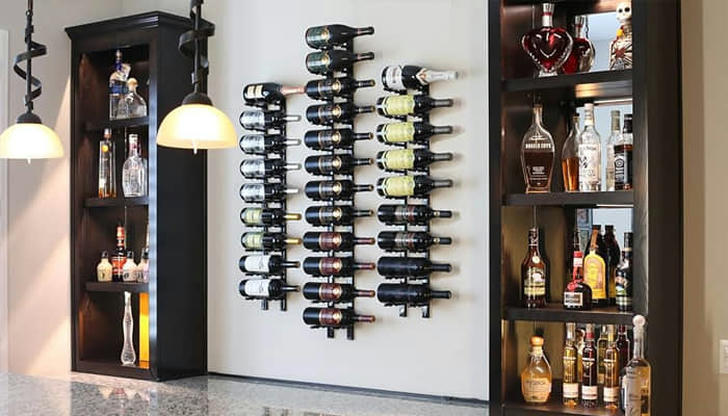
Materials:
- Reclaimed barn wood (or aged pine)
- 2x4 boards for supports
- Matte black metal brackets
Cut boards to fit six bottles horizontally. Burn the surface lightly with a torch or heat gun, then sand it --- this creates a rich, aged patina known as shou sugi ban style.
Mount the rack on the wall near your kitchen or dining table, and suddenly your weekend build feels like a design statement.
Pro Tip: Engrave or stencil a small design on one corner --- initials, a date, or even your favorite quote --- for that "custom craftsman" touch.
5. Turn Scrap Wood into a Designer Lamp
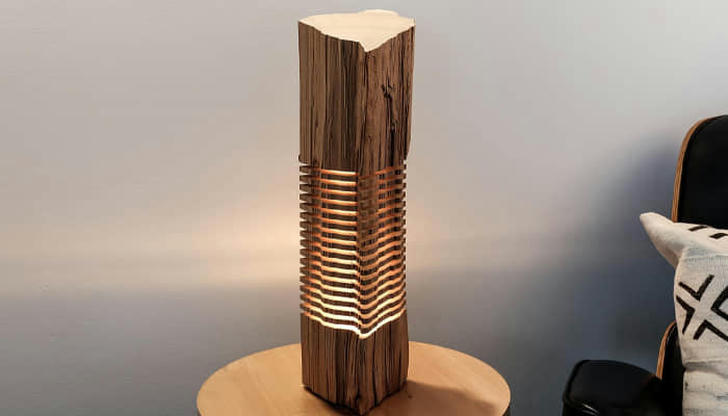
Nothing says "professional" like good lighting --- and a handmade lamp adds warmth to any space.
You'll Need:
- A leftover wood block (4x4 inches)
- A light kit (socket, cord, bulb)
- For extra flair, use a filament-style LED bulb.
Drill a hole through the block for the wire, sand it smooth, then oil it with tung oil. The light will glow warmly across the grain --- creating a soft, natural centerpiece for your desk or bedside table.
6. Don't Skip the Finish --- That's Where the Magic Happens

Even the best-built project can look amateurish if the finish is rough.
Here's a pro finisher's quick formula:
- Sand in stages: 120 → 180 → 220 grit.
- Damp wipe: Removes fine dust that dulls finish.
- Oil or wax: Natural finishes (tung, linseed, or beeswax) make wood glow instead of shine.
- Buff softly: After drying overnight, rub lightly with a cotton cloth for a buttery surface feel.
That's what separates "weekend project" from "designer craftsmanship."
7. Build for Feel, Not Just Function

The reason professional pieces stand out isn't just precision --- it's emotion.
They feel good to touch, to look at, to live with.
When you run your hand along a perfectly smooth edge or see sunlight bouncing off the grain, you understand: good design isn't just seen --- it's experienced.
So when you start your next weekend build, think not just about what you're making, but how it will feel in your space.
A shelf that makes a blank wall interesting.
A table that invites you to slow down.
A lamp that makes the evening feel warm again.
Final Thought
You don't need to be a master carpenter to make something beautiful --- you just need patience, good materials, and a weekend's worth of curiosity.
So this Saturday, grab your coffee, open the garage, and start with something simple.
Because when you make with your hands, you're not just building furniture.
You're building a bit of peace --- one cut, one sand, one finish at a time.