
How to Get a Smooth Wood Finish Without Common Mistakes
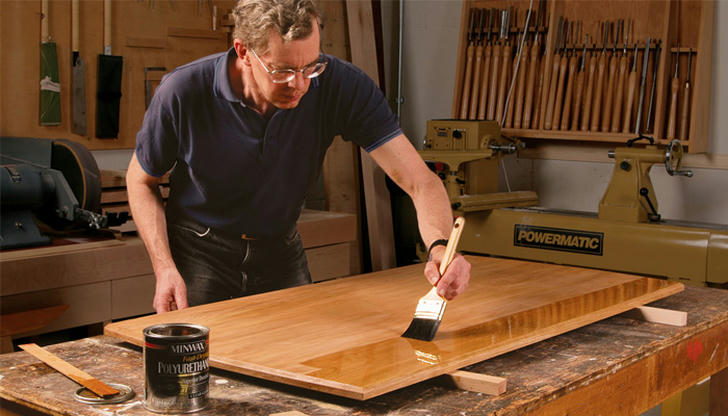
A beautiful woodworking project deserves a finish that looks just as good as the craftsmanship behind it. Unfortunately, uneven stains, rough surfaces, and visible brush marks can spoil the final result. Whether you're restoring an old table or building a new bookshelf, these practical wood finishing tips can help you achieve a smoother, longer-lasting finish without unnecessary complications.
1. Prepare the Wood Surface
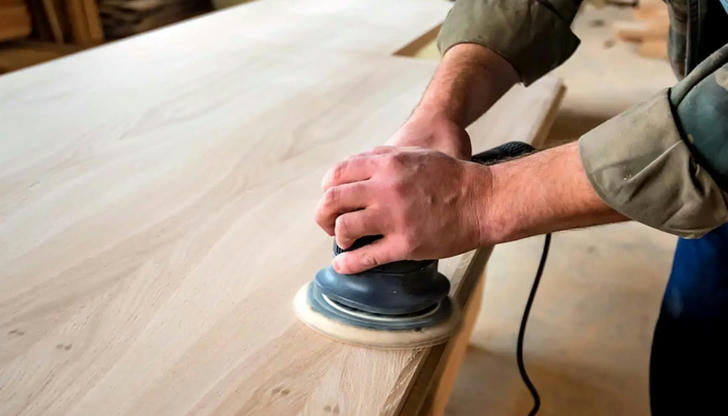
Great wood finishing begins long before you open a can of stain.
Inspect your wood for dents, cracks, dried glue, and leftover paint. Small imperfections often become more noticeable once the finish is applied.
Use wood filler to repair minor holes when appropriate, and remove old coatings if your project requires a fresh start. Make sure the surface is clean and dry before proceeding.
Quick tip: Pay special attention to glue spots. Dried wood glue can prevent stain from absorbing evenly, leaving pale patches on your finished project.
2. Choose the Right Sandpaper
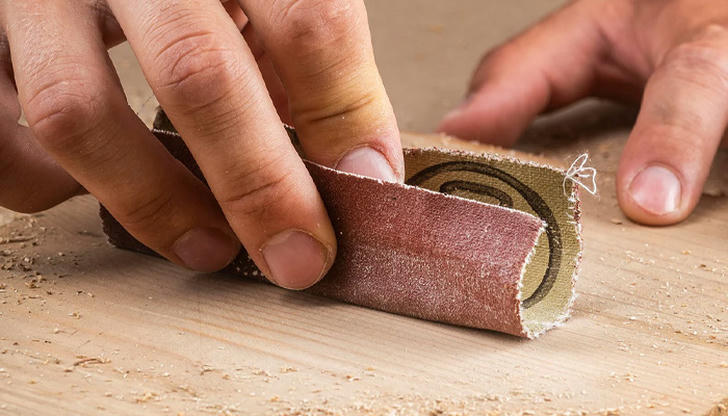
Sanding is one of the most important steps in achieving a professional-looking wood finish.
Different sandpaper grits serve different purposes:
- 80 grit: Removes rough spots and old surface material.
- 120 grit: Smooths moderately rough wood.
- 180 grit: Prepares many wooden surfaces for finishing.
- 220 grit: Provides fine sanding when appropriate for the finish.
For rough lumber, you might begin with 80 grit and gradually work toward 180 grit. Already-smooth wood may need much less sanding.
A random orbital sander makes larger projects easier, while hand sanding works well for corners and delicate details.
Remember: Follow the wood grain during final hand sanding to reduce visible scratches.
3. Remove Sanding Dust
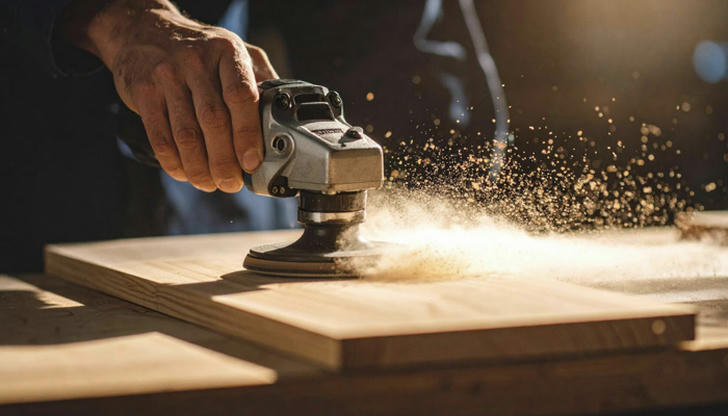
Even perfectly sanded wood can develop a gritty finish if dust remains on the surface.
After sanding, vacuum the project thoroughly, especially around joints and corners. Follow with a clean, lint-free cloth.
Avoid household cleaners that may leave residues interfering with stains or protective coatings.
A clean workspace matters, too. Airborne sawdust can settle on freshly applied finishes, creating tiny bumps that require additional sanding.
Taking a few extra minutes to remove dust can save considerable frustration later.
4. Select the Best Wood Stain
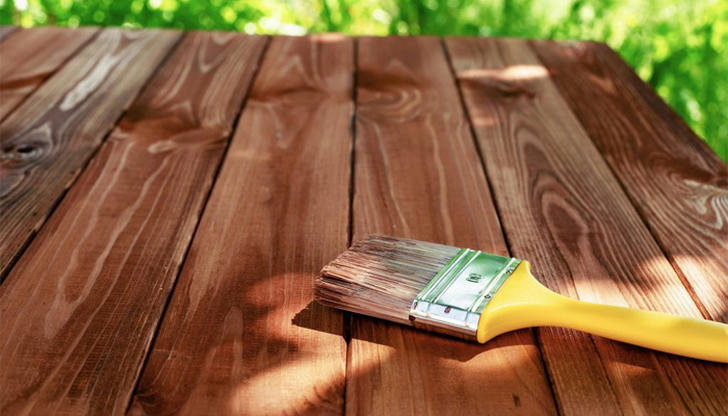
Wood stain enhances natural grain while changing the wood's appearance. However, not every stain behaves the same way.
Oil-based stains often provide longer working time, while water-based products generally dry faster and offer easier cleanup.
Your choice should depend on the wood species, desired color, ventilation, and compatibility with the protective topcoat.
Some woods, particularly pine, may absorb stain unevenly. A compatible pre-stain wood conditioner can help reduce blotchiness.
Try this: Test your chosen stain on leftover wood from the same project. The final color may look surprisingly different from the sample displayed on the container.
5. Apply Stain Evenly
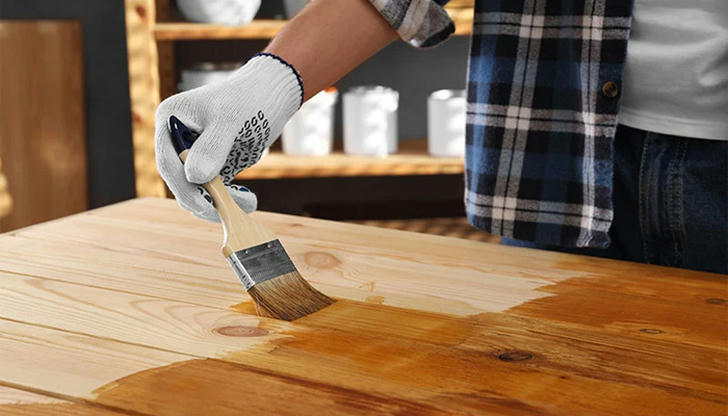
Uneven staining is a common frustration for beginners, but careful application can help.
Work in manageable sections using a suitable brush or applicator. Follow the product's instructions for application, penetration time, and removal of excess stain.
Avoid letting stain sit much longer in one area than another, as this may create inconsistent coloring.
For large surfaces, maintaining a consistent working pattern helps prevent visible overlaps.
Don't rush to apply another coat. Allow the stain to dry according to the manufacturer's recommendations before adding a compatible finish.
6. Choose a Protective Finish
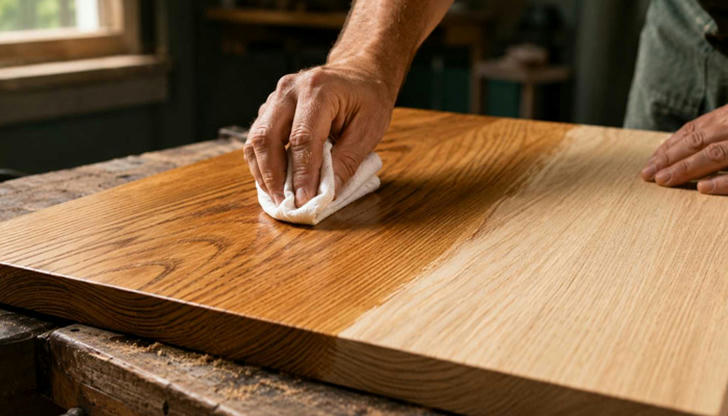
Staining changes color, but many projects also need protection against moisture, scratches, and everyday wear.
Several popular wood finishing options are worth considering:
- Polyurethane: A durable choice for tables, shelves, and frequently used furniture.
- Water-based clear finishes: Often preferred for indoor projects requiring faster drying and lower odor.
- Exterior wood finishes: Designed for outdoor exposure, although regular maintenance may still be necessary.
- Hardwax oils: Popular for certain furniture projects where a natural appearance and repairability are priorities.
Consider how your project will be used before choosing a product.
A decorative wooden picture frame has very different protection requirements from a heavily used kitchen table.
7. Apply Thin, Even Coats
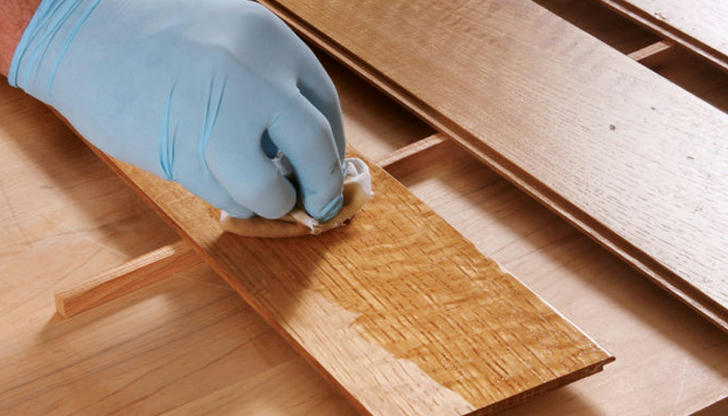
More finish doesn't automatically mean better protection.
Applying excessively thick coats can cause drips, bubbles, brush marks, and uneven drying.
Instead, use an appropriate applicator and follow the manufacturer's recommended coating thickness.
Work steadily and avoid repeatedly brushing areas that have already started drying.
Some finishes benefit from light sanding between coats, while others have specific recoating requirements.
Helpful trick: Check your work under angled lighting. Reflections can reveal drips or missed spots before the coating becomes too difficult to correct.
8. Avoid Common Mistakes
Sometimes the easiest way to improve your results is simply knowing what not to do.
Here are several mistakes worth avoiding:
- Skipping preparation: Clean and repair wood before finishing.
- Using coarse sandpaper: Progress through suitable grits to avoid scratches.
- Applying too much stain: Follow the recommended application method.
- Rushing between coats: Respect drying and recoating times.
- Choosing the wrong finish: Match the coating to your project's intended use.
- Working in dusty conditions: Clean the workspace before applying finishes.
One particularly important precaution involves oil-based finishing products.
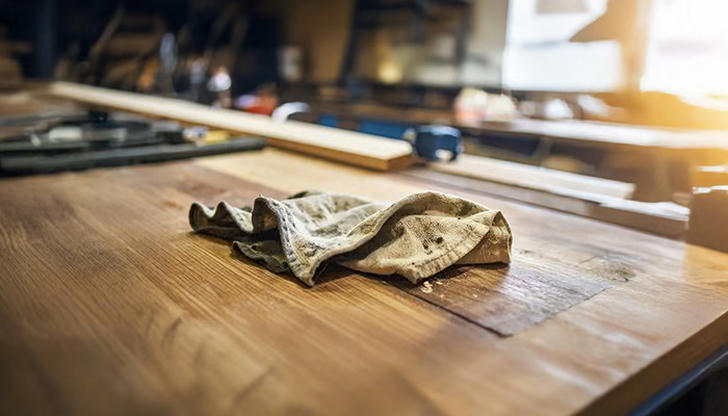
Never leave oil-soaked rags piled together. Some can generate enough heat to ignite spontaneously. Follow the product's instructions for safely handling and disposing of used rags.
Always work with appropriate ventilation and protective equipment.
9. Allow Proper Curing Time
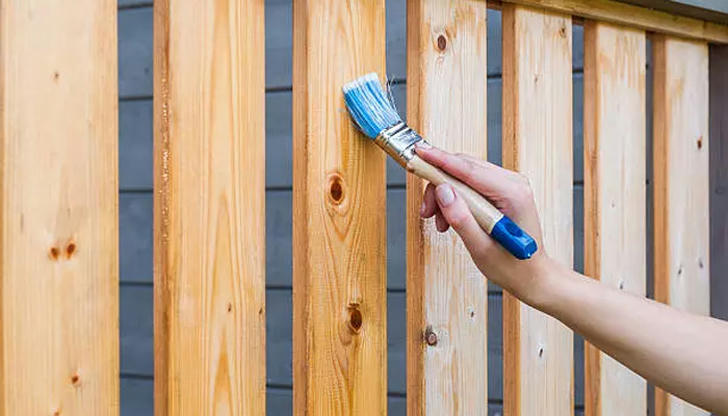
Your furniture may feel dry within hours, but that doesn't necessarily mean it's ready for regular use.
There's an important difference between drying and curing.
Drying generally means the surface is no longer wet or tacky. Curing is the process through which the coating develops its intended performance characteristics.
Depending on the product and conditions, full curing may take considerably longer.
Avoid placing heavy objects, wet containers, or abrasive materials on newly finished surfaces until the manufacturer recommends normal use.
Patience at this stage helps protect all your earlier work.
10. Maintain Your Wood Finish
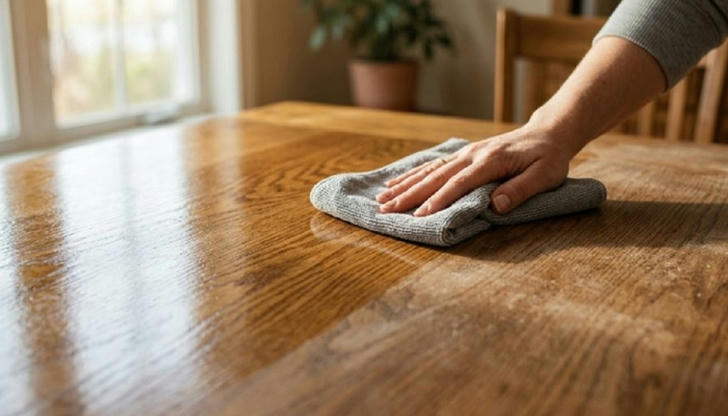
A well-applied finish still needs occasional care.
Dust wooden furniture regularly with a soft cloth, and clean spills promptly to reduce moisture exposure.
Use coasters under drinks and protective pads beneath objects that might scratch the surface.
For outdoor woodworking projects, inspect the coating periodically for peeling, fading, or weather-related damage.
When maintenance becomes necessary, follow the finish manufacturer's recommendations.
Simple habits can help your woodworking projects stay attractive for years.
Final Thoughts
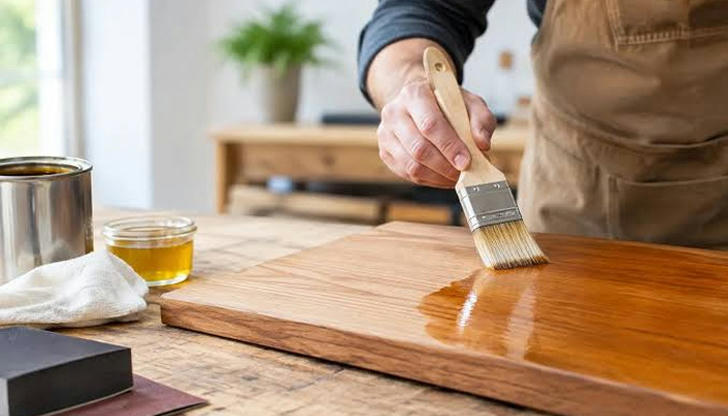
A professional-looking wood finish doesn't require years of experience or the most expensive woodworking tools. What matters most is careful preparation, proper sanding, compatible finishing products, and enough patience to let each step work.
Start with a small project, experiment with different finishes, and learn how your chosen wood responds.
The next time you build a shelf, restore a chair, or refinish a tabletop, put these wood finishing tips into practice. A little extra attention can turn an ordinary DIY project into something you'll be proud to display.